
You Inspire Me Everyday


I had a bit of a crazy weekend in terms of DT projects.  This one didn't make it to my blog...


like for ever hold a couple of retreats each year.  As I am unable to make them I hijack the subscribers group and hold a virtual retreat for the members who aren't at the crop.


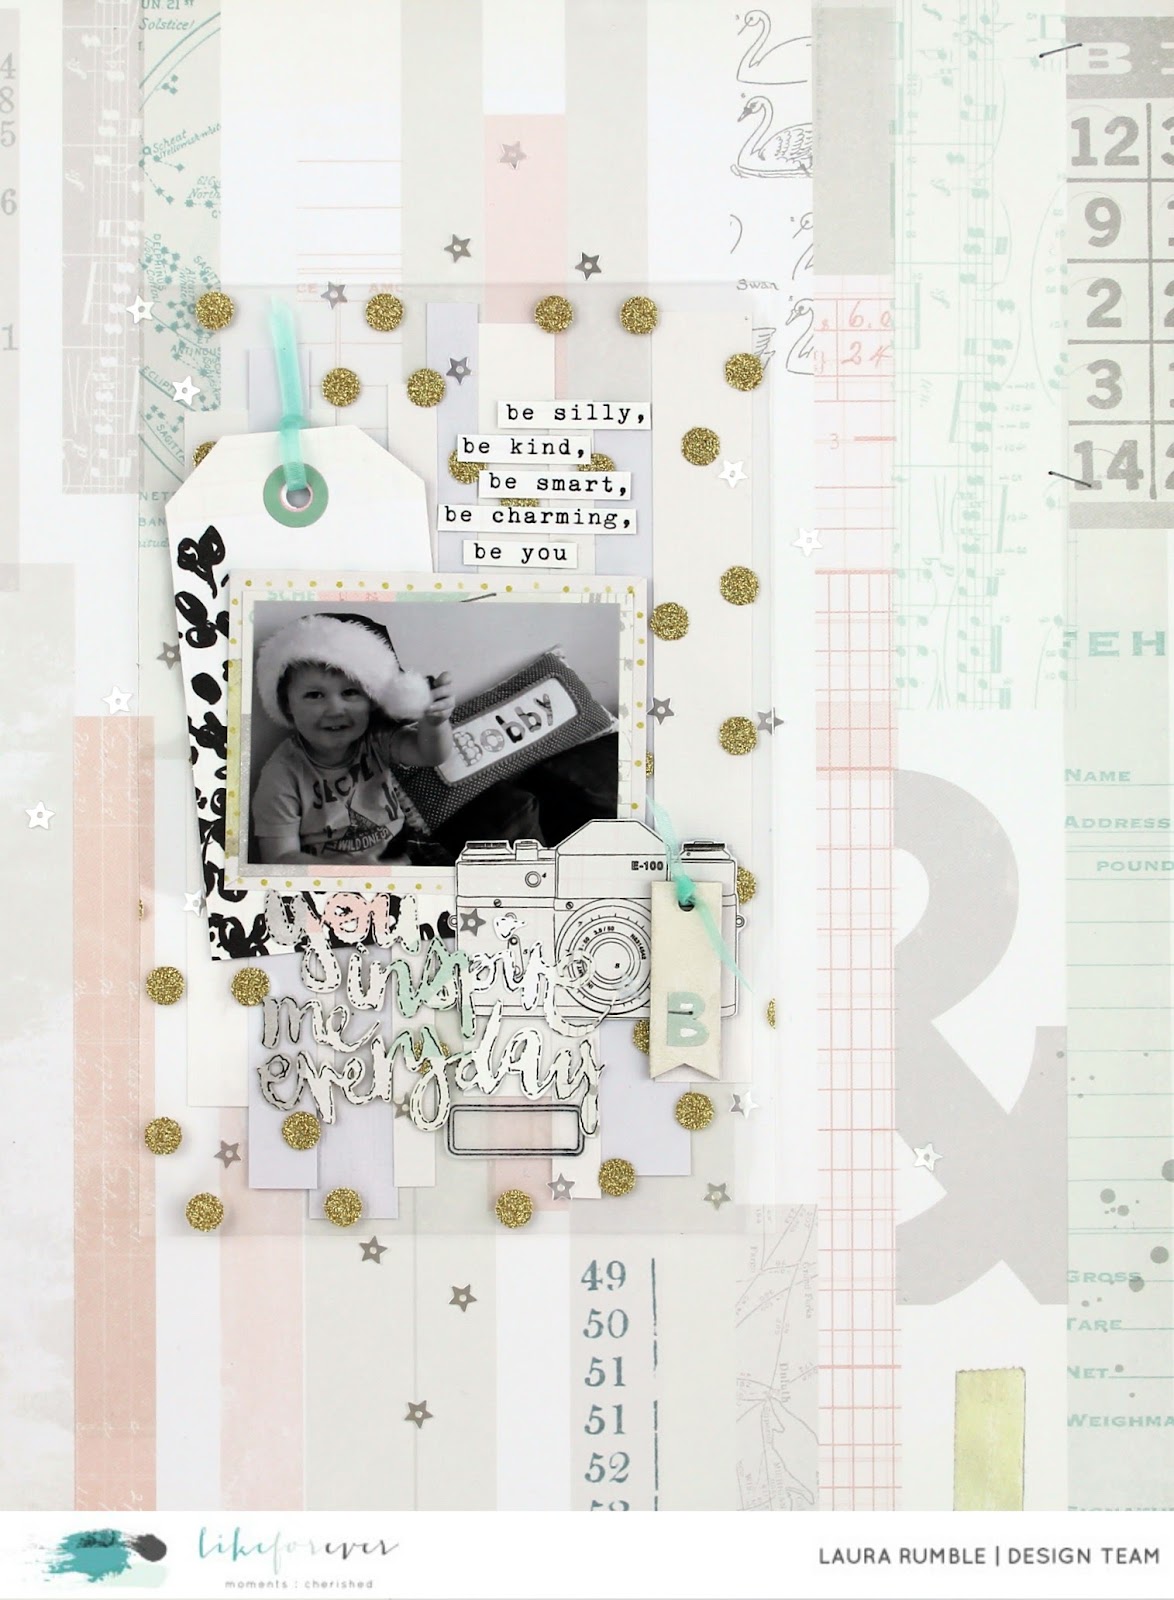
This challenge was to use 'you inspire me everyday' as the focus of your layout.


The majority of supplies are from the like for ever March kit, with just a touch of ribbon and a few sequins thrown in, and some white scraps rescued from the recycling.


I love the soft floaty feeling of the colour palette.  Combined with the glitter dot acetate and the iridescent star sequins this rockets to the top 10 layouts list!


Thanks for stopping by!

Comments

  1. Hi Laura, Another lovely LO.

    Hope you have had a nice day. Sue

    ReplyDelete

Post a Comment

Thank you for taking the time to comment.
I love to read your messages...

Popular posts from this blog

Hoppity!

Hoppity hoppity!!  :) Hopeful you have arrived here from Fleur 's blog as part of the Crafty Ribbons Easter Hop .  If not and you've found yourself here wondering what on earth I'm on about (and let’s face it J you wouldn’t be the first!!) check out the Inspirations site for all the juicy details! My project for the hop is         Easter bunting!  I cut three templates first - a triangle pennant, a bird and a heart.        Then I cut the pennant shapes from fibre ribbon, threaded them on to some 3mm satin and evenly spaced them.  I embellished each flag with some beads...       I backed the birds and heart on some thin white card and glued them to the centre of the pennants.   My supplies list: yellow fibre , pink fibre , lime fibre , 3mm satin , button box , white card, glue, beads, needle and thread.   At each stop on the hop there'll be a word to collect and a candy draw. I've got these

WOYWW 159

Hello, Happy Whats On Your Workdesk Wednesday !  As promised a picture of last Wednesdays 'work' finished off.  Post and more photos here . This week I'm showing off the beaded ATC I made... Tricky to photograph so your getting one with flash and one without... It was all parcelled up and sent off to Queen of Desks Julia .  Here is a basic of how it was made... (lots of waffle about wefts and warps!) I use a flexible beading needle.  It is mainly 'eye' so it is very easy to thread. And delica beads which are more regular and accurate than the better known seed bead.  They are slightly more rectangular than round so they line up better. Thread your needle with the weft thread.  (The cross ways thread that weaves back and forth.)  Pick up the beads... Pass the needlefull of beads underneath the warp (tight length ways) threads on the loom... ...and push each bead up in the corresponding g

DMIO: Teach Me Something

A few weeks back I made a dream catcher.  A few readers asked if I could show them how I made it, so, here is my attempt at a tutorial! First up weaving the web. 1. You'll need a hoop and some ribbon/thread/yarn on a bobbin. 2. Attach the ribbon securely to your hoop. 3. Take your ribbon over the top of the hoop... 4. and up through the loop you've just made with the ribbon... 5. so you have a cross over. 6. Continue steps 3-5 until you reach the knot. 7. Now instead of going over the hoop you will crossover the ribbon 8. and through the loop you've just made to give a crossover. Continue on in this fashion until you get to the middle. You need to leave a hole in the middle as this is where the good dreams get through!  They then run down the tassels/feathers/any other hanging decoration and on to the owner.  It should look something like this.  You'll need to play around with your tension until you get a firm web. Now for the tassels - I like to