I have recently discovered counterfeit kit challenge. I've watched quietly for a month and decided that it is time to join in and experiment...
From what I have gathered, we all love scrapbook kits, but for reasons like price, stash size, etc, we cannot justify buying them each month. I know I always look at the cocoa daisy kits and drool and wish. I don't buy them because when you add the P&P to the UK on it just isn't worth it. (I always shop with Cocoa Daisy when they have sales though... nearly every sale since I discovered them... problem? me? yeah, maybe!) Anyway, back to the point. Each month the counterfeiters put together their own kits from their stash, based on a recent kit from a club, and share their work with the kit through out the month.
This month the kit to copy is Cocoa Daisy's February kit (coincidence? or meant to be?!) CD always have loads of add ons and extras rather than just one kit so I have taken my inspiration from all of the kits and mushed it all in to one. I started out with a non-girly-pink-ish kit in mind and seem to have ended up quite green...
Here are the CD pictures and what catches my eye...

The plain cardstock colours, all of the patterned papers and the boldly coloured alphas all stuck in my head...
 Sequins, resin flowers, zig zags, punctuation, alphas...

I had a little trouble as I don't have many patterned papers that are
graphic and angular - mine seem to mostly be floral or soft pattens
rather than patterns with straight lines. I have the doily vellum and want to use it but I'm not sure how...
Now here is what I have put together as my kit...


I added a tonne of seam binding - just in case I need it!!

The embellishment box has sequins, buttons, punctuation brads, resin flowers, label stickers, tickets, a small envelope, transparencies, white photo corners, a couple of die cuts and journalling cards.

My alphas follow quite literally - one bright red set, one neutral set. Also thrown in as I want to use them up a glitter set. Adding glitter can't hurt! :)

Box of tricks includes... inks, a couple of bunting stamps from Skull and Cross Buns, glossy accents, clear embossing powder and a clear stamp.

Plain card stock... They wont all stay plain.
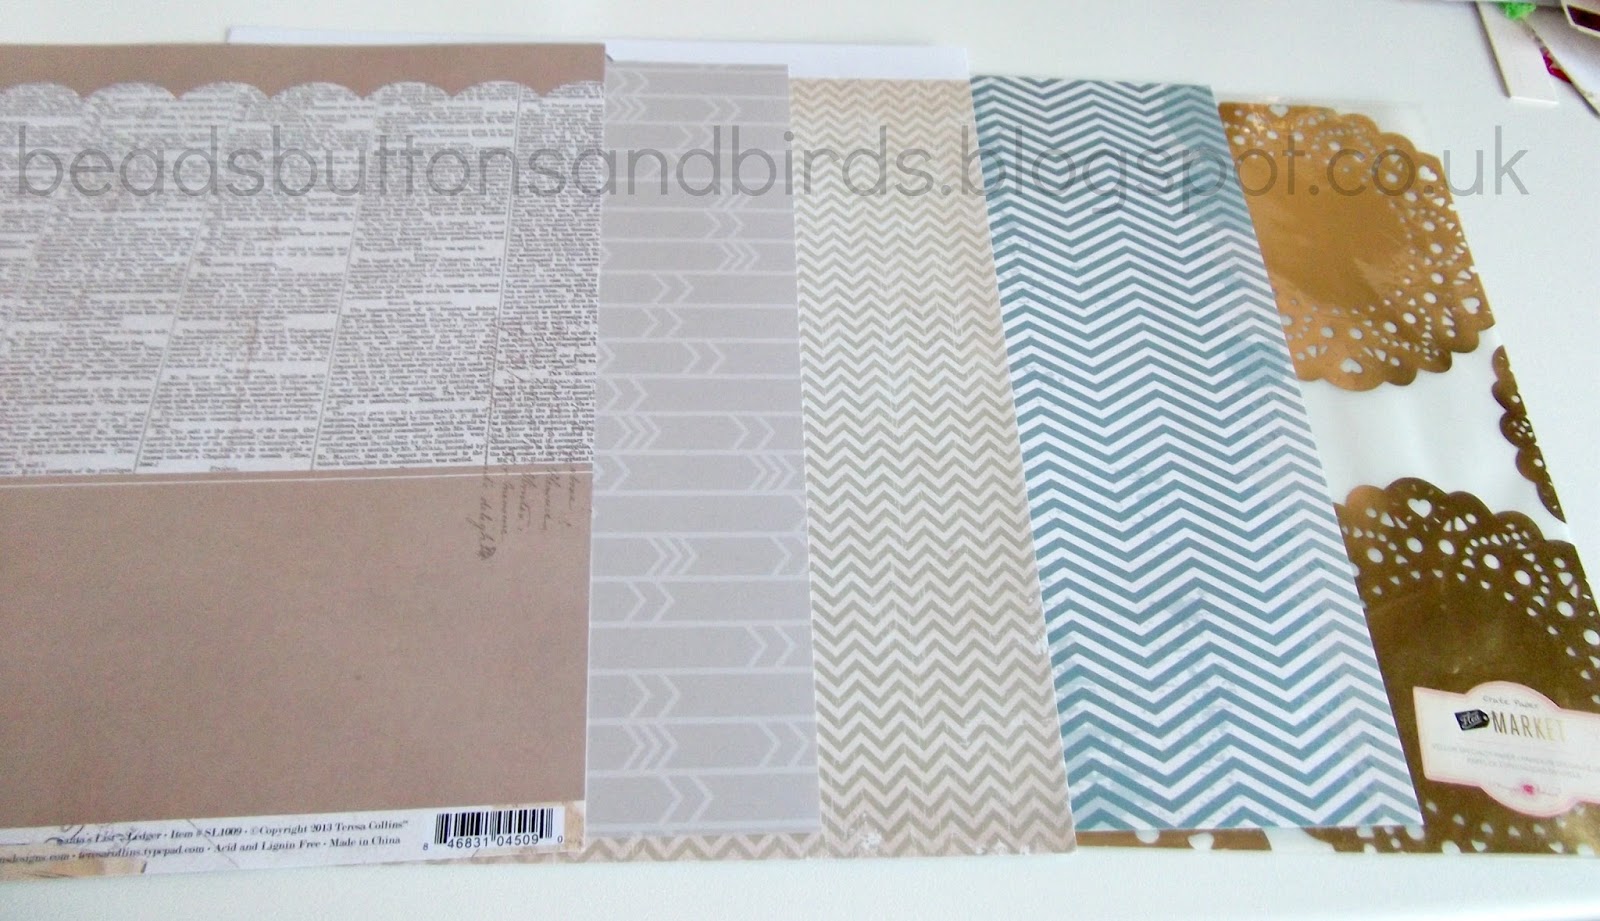
Patterned cardstock.
I found it quite hard to put together as I had no idea how much to put in. As it is my first time I am going to allow myself any extras from my stash as I go along. Buttons and ribbons maybe, or mists and inks... it is kind of an experimental project. I think I am going to enjoy it though. As the month goes along there will be challenges, I think, so we'll see where I get to by the end of the month...
To any Counterfeiters who drop by - As it is my first time please feel free to point out things I ought to do differently! :)
Looks like you have plenty of stash to use. Looking forward to seeing your project.
ReplyDeleteLaura, I was in your shoes in Nov 2013. You did great for the first kit :) Love all the embellishment that you choose and the cute stampset. Looking forward to seeing what you do and welcome becoming a Counterfeiter I certainly enjoy it. The day of the reveal I usually do the hop to see what the design team has done and get any hints from them, then I will go to the kit site itself and see what is in the kit by seeing all the pictures they have of it. Then I start to make my choices, this is my process and everyone's is different it is fun to make the kit (me it took all day yesterday but I find it soothing somehow and a fun challenge to see what I have in my stash). So the more often you do each month the more you start figuring out your style of doing it :) I try to pull based on what I'm planning to scrap that month too, if it'll be a heavy scrappin month or not. Welcome and have fun :)
ReplyDeleteWelcome aboard Laura :-D
ReplyDeleteOne thing you have to remember with the CKCB rules ... is that there are none! Other than root through your stash, put together some goodies and use them! And never be afraid to add more papers, cardstock or embellies if the layout in progress needs them ... it's your kit and your hobby!
You've made a brilliant start - looking forward to seeing your linked up creations. Have fun!
Beautiful kit. I agree that there are no rules - that's the best part. Looking forward to seeing your projects.
ReplyDeleteSo glad you did one! CKCB is addictive! Love your first kit and I like how you grouped it together for photographing; I will definitely had to copy that since I just got mine together super late this evening :) Great embellishments )love the resines and the sequins) and always remember, some of us have small kits, some big, some medium and some have GINORMOUS ones-no rules, it's yours :) It'll all depend on how inspired you are by the kit and what you have laying around that month.....
ReplyDeleteI second what Jemma said. No CKC police here. You have done a fabulous job putting your first kit together. You will find as you do more in the future (we'd love for you to stay and play) you will get a better sense of what you absolutely need and how to make substitutions. But as Jemma said, if there is something that is just perfect for your layout, but not in your kit...JUST GO FOR IT! The kit acts as a springboard to get pages made and stories told and stash used. Welcome!!
ReplyDelete